Weddings are many things—emotional, beautiful, chaotic, and also expensive. The moment that engagement ring hits your finger, it seems like everything costs double, especially when it’s labeled “wedding.” But DIY wedding decorations open a door most couples overlook: the chance to save money and tell your story in a way that feels undeniably personal.
It’s not about being a master crafter or turning your home into a full-time workshop. It’s about making your wedding feel like yours, down to the last ribbon-wrapped jar or hand-painted sign. Every piece becomes part of your narrative, whether it’s a rustic wood centerpiece or a handmade paper flower wall that took two weekends and a lot of patience.
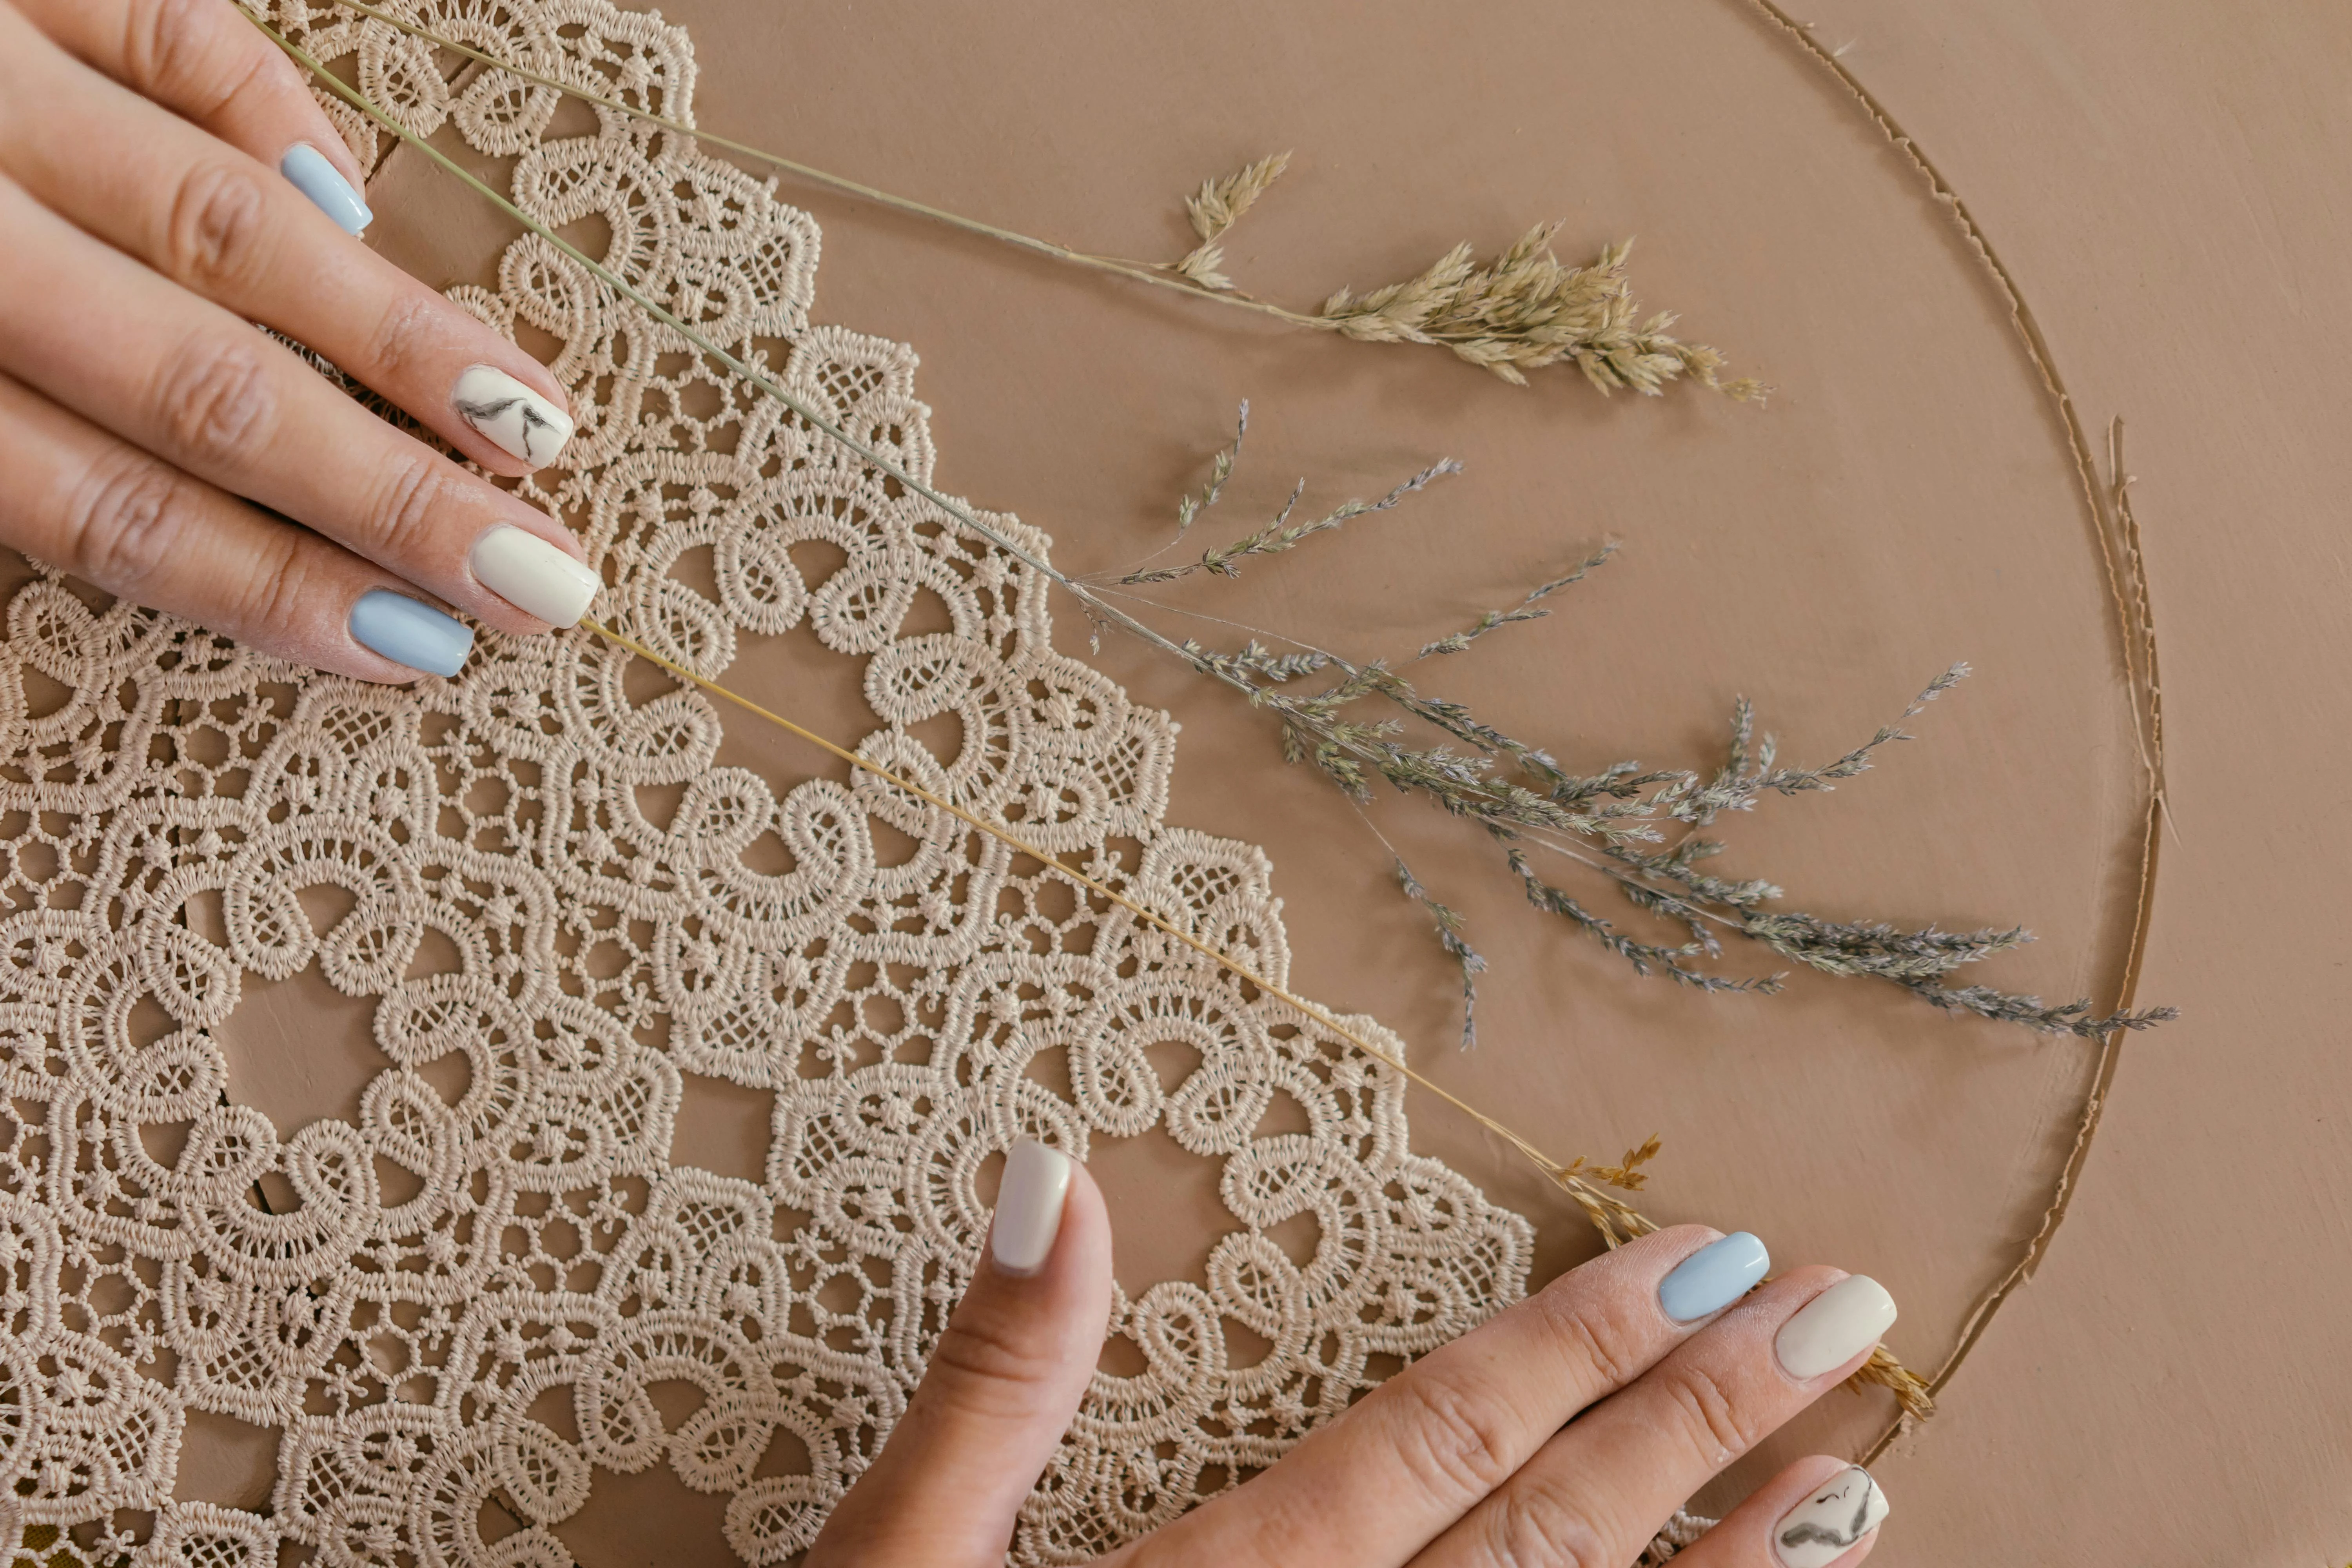
DIY decorations have the kind of charm that store-bought simply can’t replicate. There’s authenticity in the imperfections and personality in the details. Plus, crafting something with your own hands—especially when shared with friends or family—adds a layer of meaning that no invoice can buy.
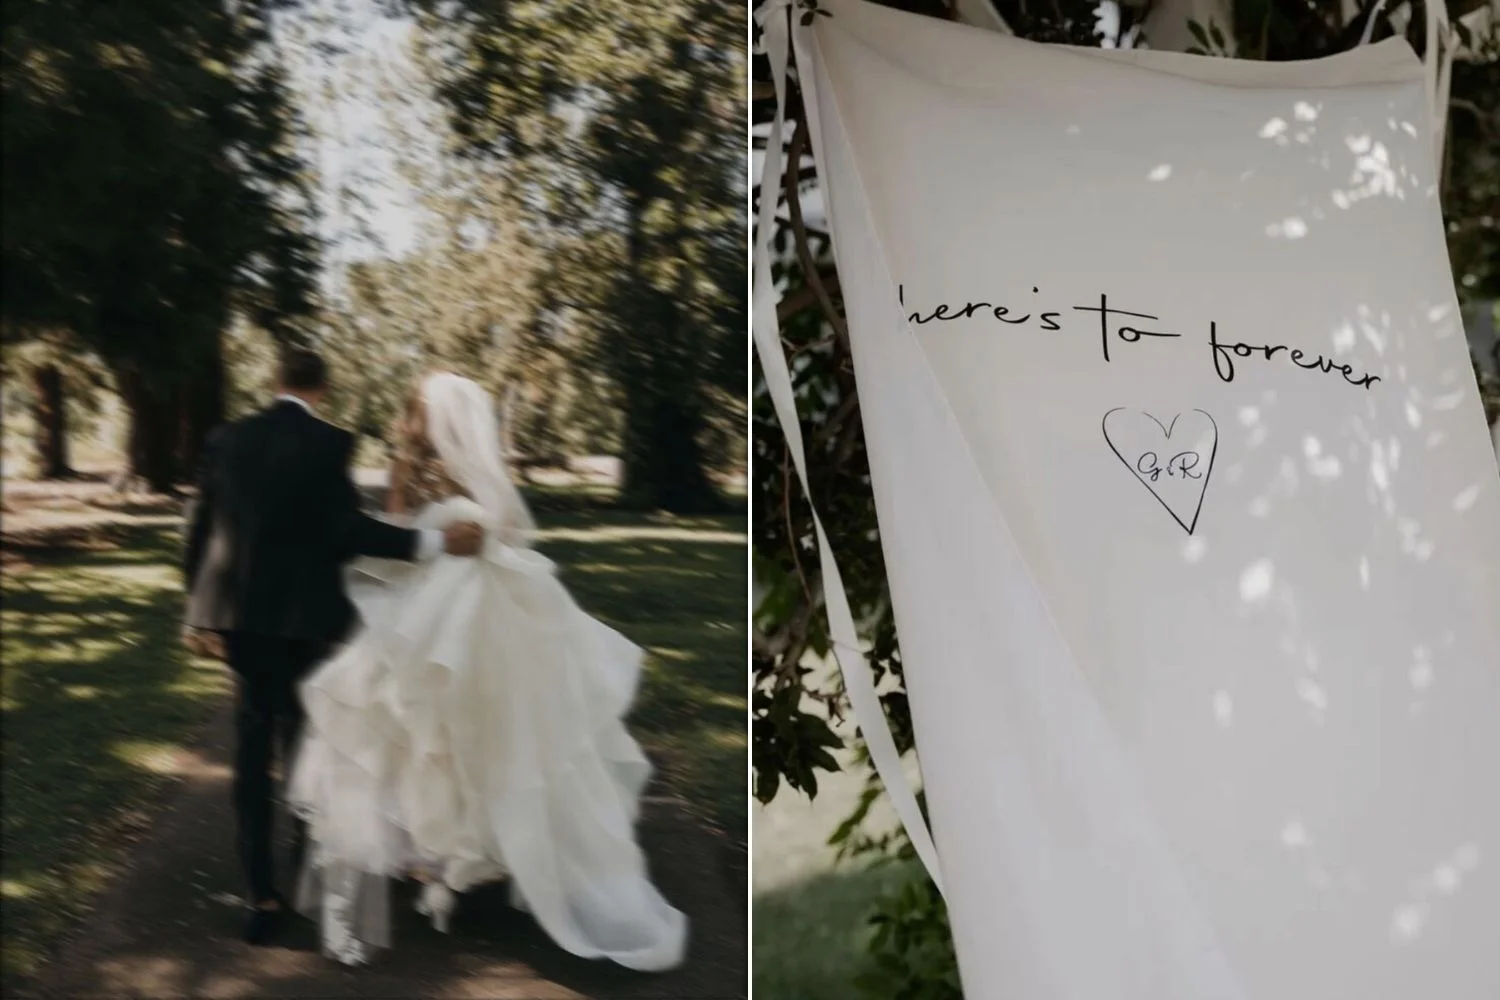
Photo on the left: ZONZO
Finding Your Theme
Before grabbing a glue stick or ordering craft supplies in bulk, you need one thing: direction. Your theme and color palette are the backbone of your entire wedding look. Without them, even the prettiest DIY projects can end up feeling mismatched or chaotic.
Start with a mood, a feeling. Is your wedding relaxed and outdoorsy? Classic and elegant? Vibrant and modern? Are you picturing twinkle lights hanging from trees or sleek minimalist lines in a gallery-like space? Once the tone is clear, building everything else becomes much simpler.
For colors, limit yourself to two or three main hues and maybe one or two accents. Overloading your palette tends to look cluttered and uncoordinated. Earth tones suit rustic and bohemian themes, pastels work beautifully in spring settings, and jewel tones add richness to evening or fall celebrations.
Use physical swatches or digital mood boards to see how everything blends. The goal isn’t to follow trends. It’s to design a space that reflects your relationship and creates a warm, welcoming atmosphere for your guests.
DIY Centerpieces That Make a Statement
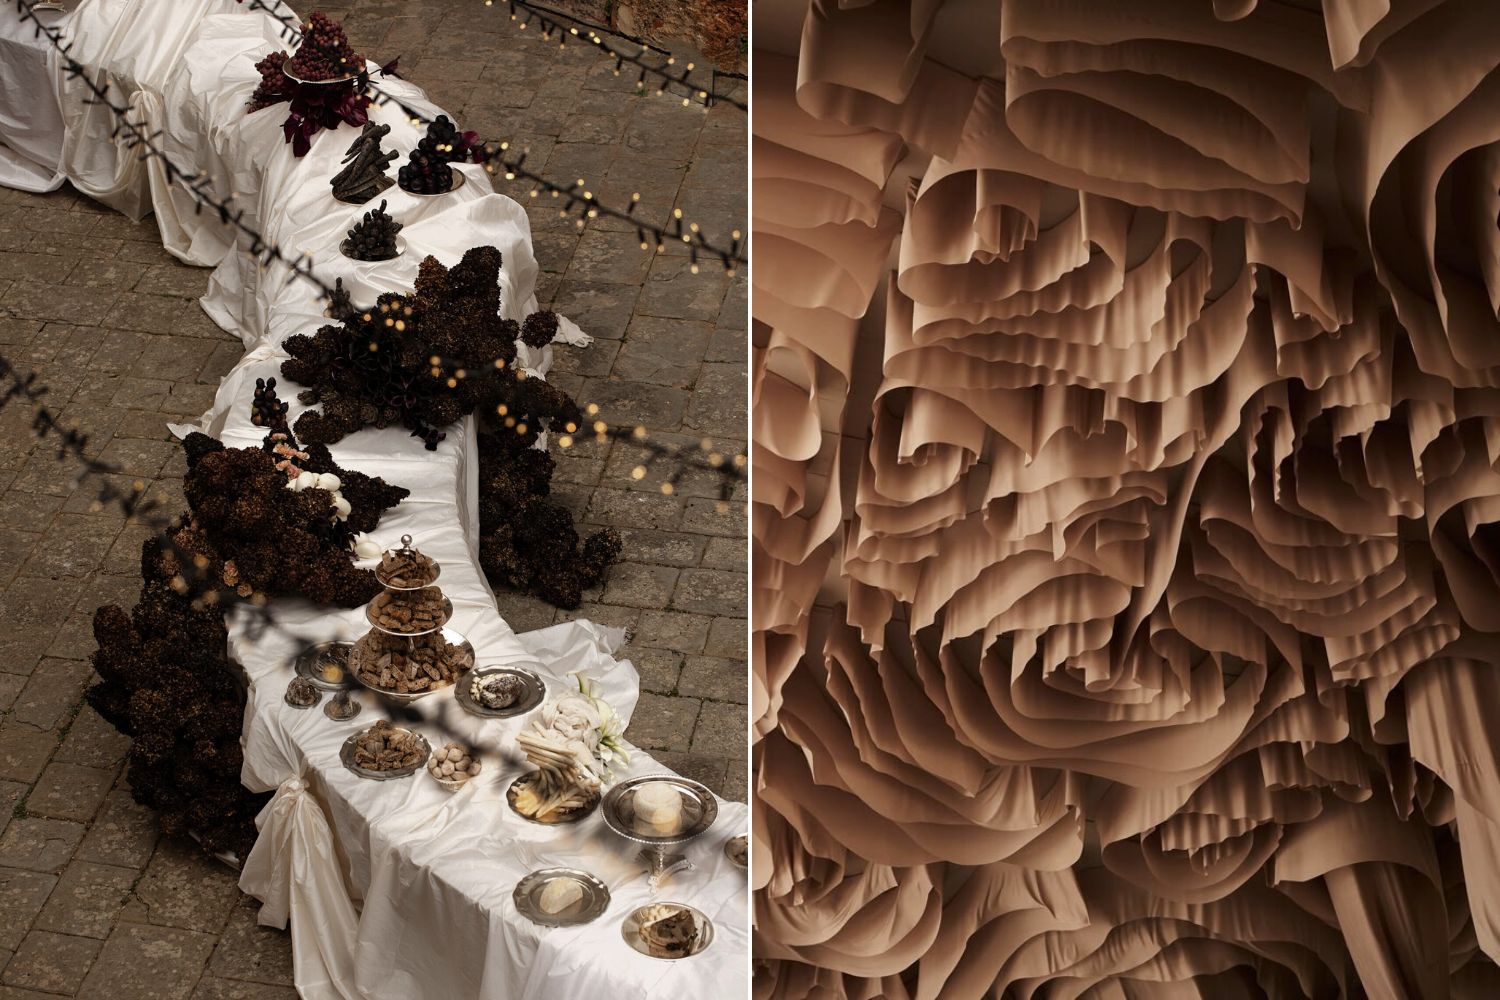
Centerpieces are the focal point of every reception table, and creating them yourself gives you endless room to get creative. While florals are a common go-to, there’s no need to limit yourself. The magic of DIY is that you can explore unexpected materials and formats—whatever aligns with your theme, your budget, and your personality.
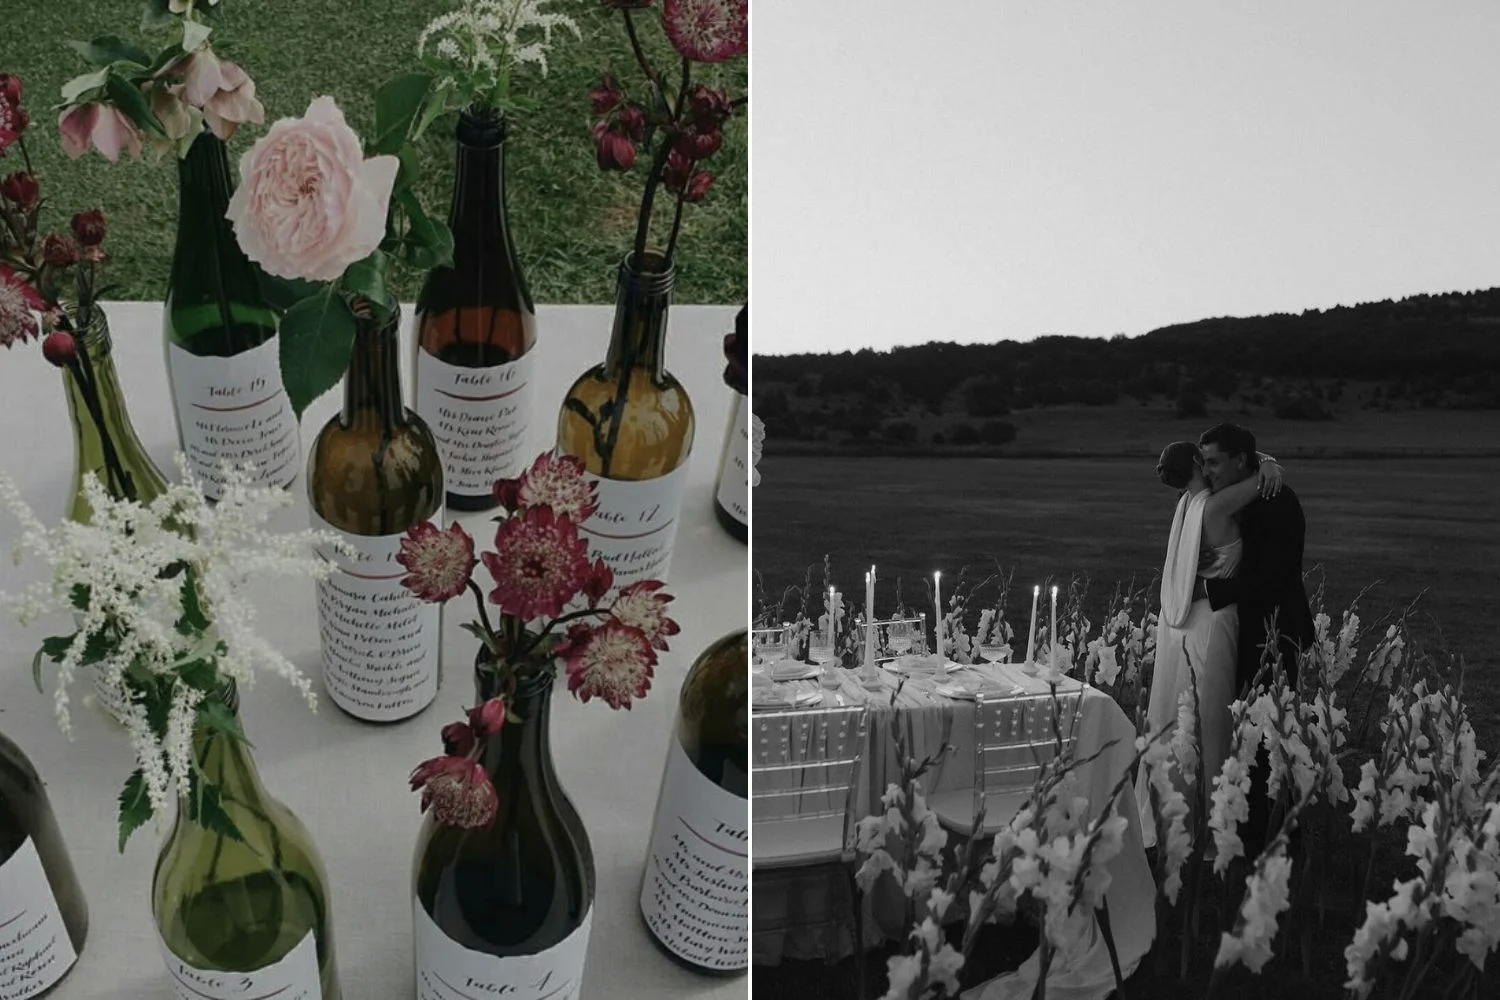
Classic options like mason jars, old wine bottles, and wooden crates are not only budget-friendly but also extremely versatile. Mason jars can be painted, wrapped with lace or twine, or used to hold candles, fairy lights, or seasonal blooms. Empty wine bottles become elegant vases when sprayed with metallic paint or left in their natural glassy charm. Wooden crates or boxes add rustic warmth and can be filled with flowers, greenery, books, or even fruit.
Mixing textures and heights can create a more dynamic table layout. Stack books for vintage vibes or use varying vase heights for a modern, layered look. Don’t shy away from faux florals or dried arrangements either—they’re cost-effective, long-lasting, and increasingly realistic.
Your Words, Your Way
Wedding signs are more than just helpful—they’re a key part of your decor. They set the tone, keep things organized, and bring a sense of intentional design to your venue. Plus, they’re among the easiest and most satisfying DIY projects out there.
Start with the materials. You can use reclaimed wood, chalkboards, acrylic sheets, or even repurpose old mirrors. Each option brings a different style. Wood lends a rustic or farmhouse vibe, chalkboards offer a casual, whimsical look, and acrylic signs feel sleek and modern.
Lettering doesn’t have to be intimidating. Freehand if you're confident, or use stencils, transfer paper, or printable templates for more polished results. Calligraphy pens and paint markers work wonders, and if you mess up—don’t worry. Chalk and acrylic markers are easily wiped clean with the right cleaner.
Practical and creative sign ideas include:
A welcome sign at the entrance
Directional arrows for ceremony, bar, and restrooms
Unplugged ceremony notice
Signature drinks or dessert menu
Hashtag display for photo sharing
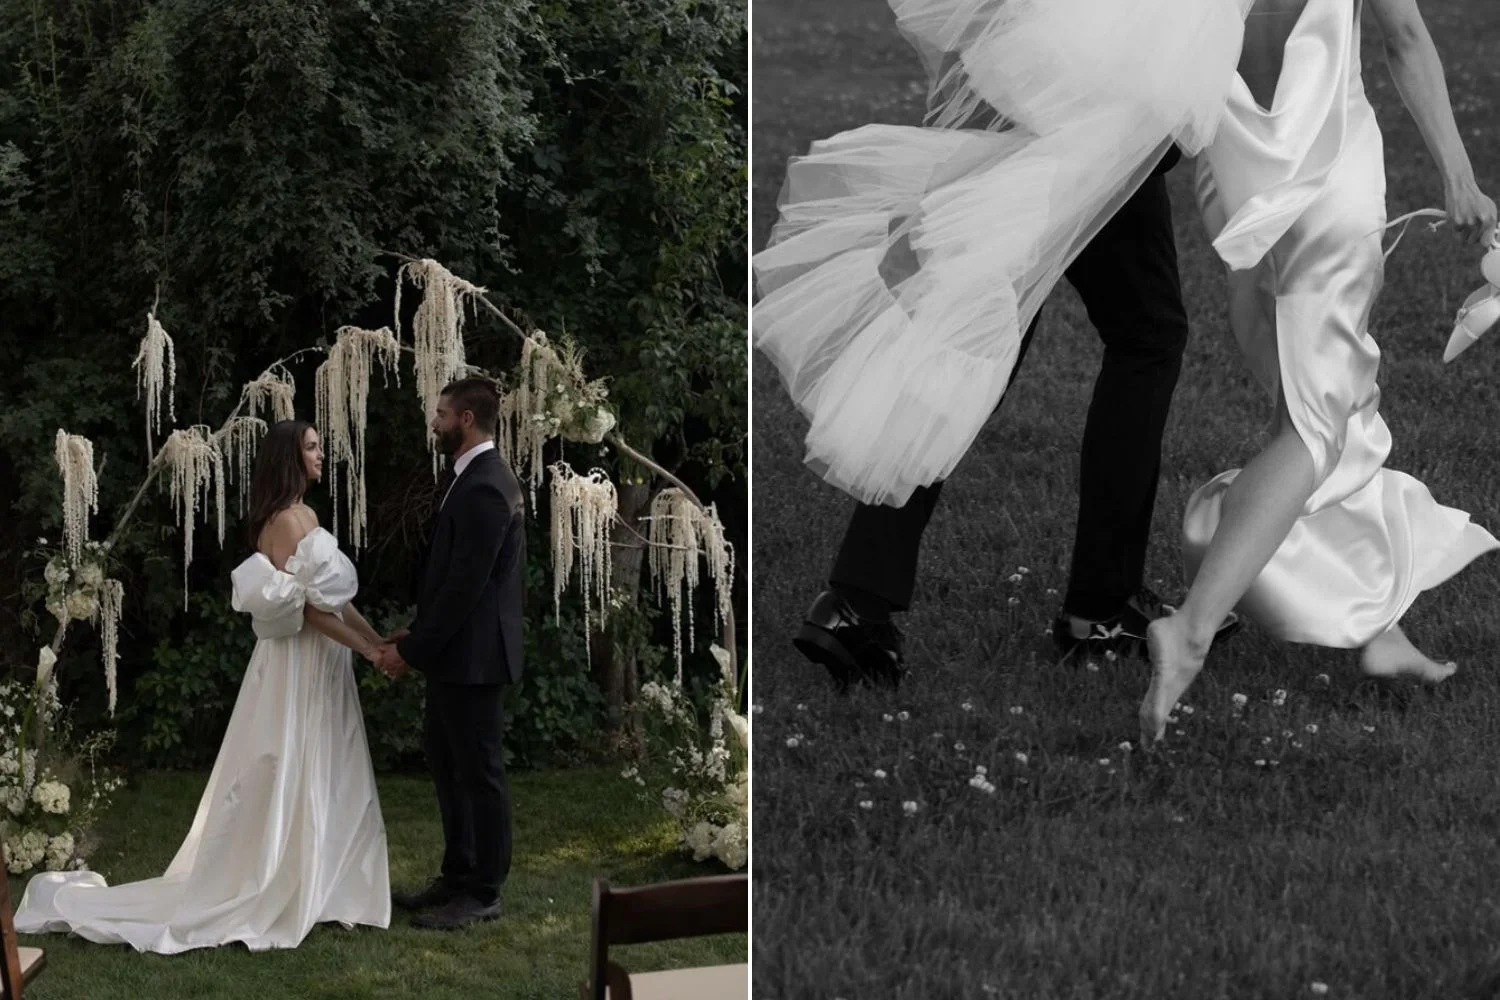
Frame the Moment
Whether for your ceremony, sweetheart table, or a photo corner, a well-designed backdrop or arch creates an anchor point for your wedding space. And while rental companies often charge hefty prices, building your own can be surprisingly affordable—and fun.
Start with structure. PVC piping is affordable and easy to cut to size. Wooden ladders, copper rods, or even tree branches can also work, depending on the look you’re going for. Once the base is secure, you can drape fabric, string lights, hang paper fans, or attach greenery and florals.
Tulle, chiffon, and cheesecloth are popular fabric choices because they’re lightweight and create soft, flowing lines. Faux vines or eucalyptus add a natural touch without the need for fresh flowers. And if you're leaning playful, balloons and streamers in your theme colors can create a festive, celebratory vibe.
Here are a few DIY arch inspiration combos:
Rustic: A-frame wood, draped fabric, pampas grass
Modern: Copper pipe, geometric hanging pieces, single floral clusters
Make sure your structure is weighted or tied down—especially if your wedding is outdoors. A well-anchored backdrop ensures all attention stays on you, not a falling arch mid-vows.
Photo on the left: TAYLAR PHOTO
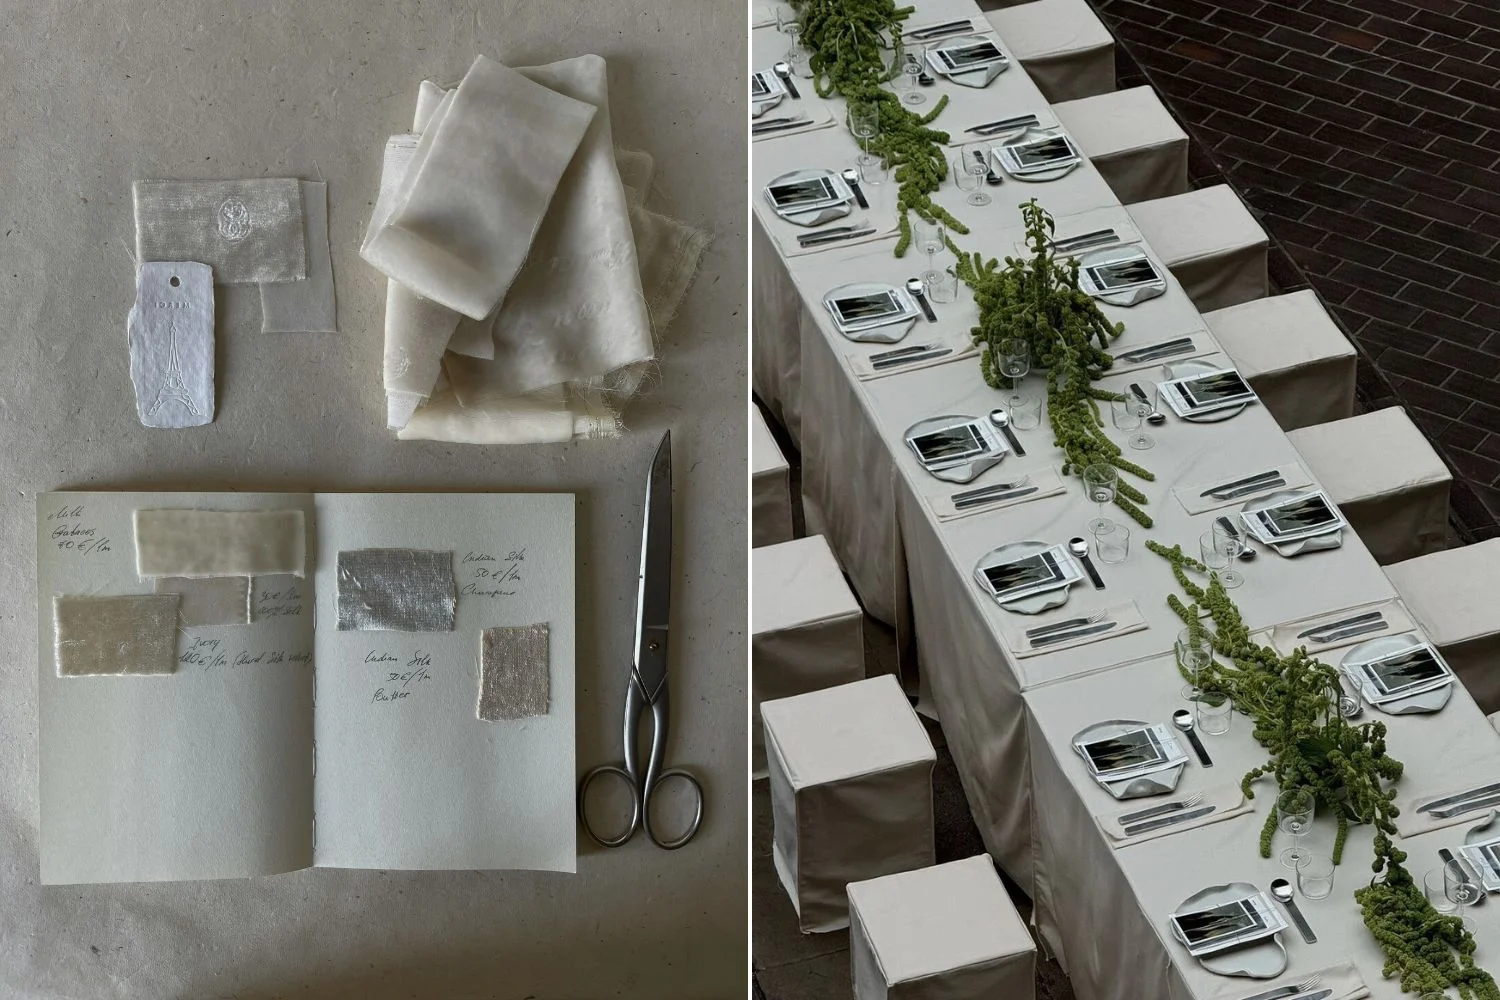
Table Details That Add Warmth
Once your guests are seated, it’s the table decor they’ll notice up close. It’s the place settings, the name cards, the little flourishes that make them feel welcomed and remembered. And the good news? These are among the simplest, most delightful DIY elements you can make.
Start with name cards. Thick cardstock, kraft paper, or even leaves (yes, actual leaves) can become beautiful name tags with a metallic pen and a bit of patience. Napkin rings can be made from twine, ribbon, or sprigs of herbs like rosemary or thyme—adding visual interest and a soft scent.
Custom menus or thank-you notes printed at home on textured paper add a thoughtful touch. You can roll them and tie with a string or tuck them under each plate. Table numbers can be framed, painted on mini chalkboards, or displayed on clips or holders made from wine corks or small stones.
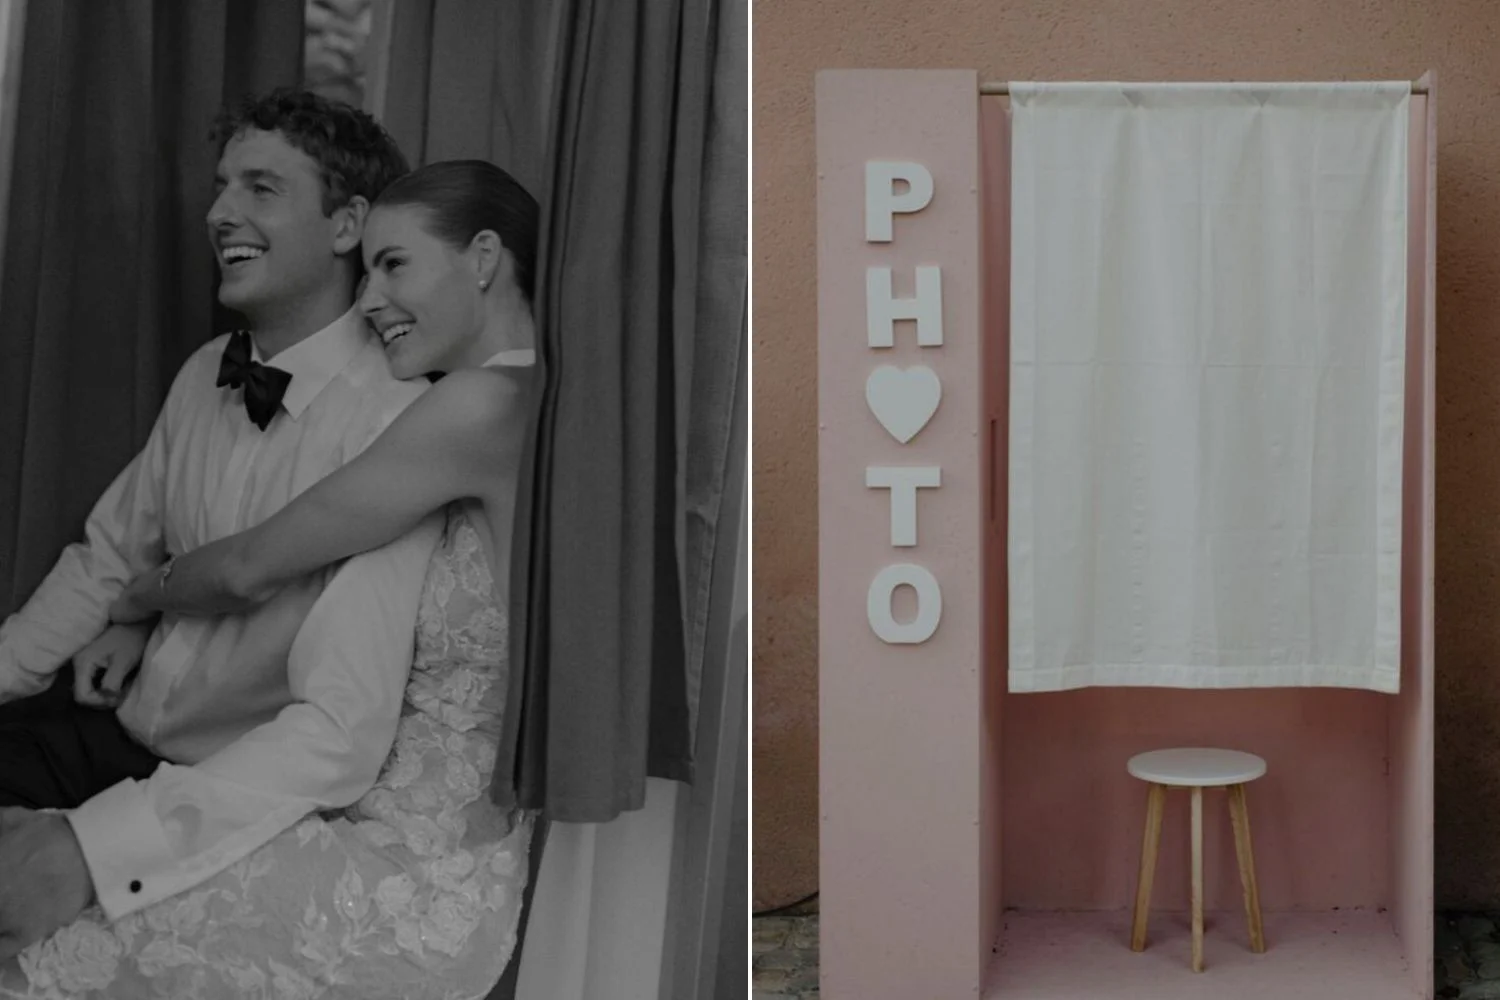
Photo Booths That Everyone Loves
A DIY photo booth isn’t just a decor element—it’s interactive entertainment that your guests will actually use. It gives them a space to goof off, dress up, and take home memories that last far beyond your wedding night.
Creating a booth doesn’t require high-end tech or a rented kiosk. A good backdrop, decent lighting, and a phone tripod or Polaroid camera can do the trick. Use curtain rods, PVC, or even a wall in your venue as your base. Drape fabric, hang streamers or string lights, or layer floral garlands.
Props make the experience. You can make signs with phrases like “Team Bride” or “Best Day Ever,” provide silly hats, boas, glasses, or even print out themed masks. Keep them in a basket labeled “Grab a Prop, Strike a Pose” to invite participation.
Backdrop inspiration includes:
Macrame or fabric hung from a wooden dowel
Gold or silver tinsel curtains
Hanging flowers or greenery
Balloon garland with paper fans
Set up a ring light if indoors or position near natural light if outside. Add a guestbook for guests to paste in Polaroids or leave messages, and your photo booth becomes a keepsake as well.
The Power of Personal Touch
DIY wedding decor isn’t just a budget trick—it’s a way to turn your celebration into something that feels layered and deeply personal. When you create something with your hands, it carries a story, an energy that store-bought items simply can’t match. Guests notice it. They comment on it. It makes your wedding feel less like an event and more like a shared experience.
From hand-tied centerpieces to custom welcome signs, everything you make adds to the atmosphere of connection. It’s not about chasing perfection—it’s about presence. Every choice reflects you as a couple, your values, and your creativity.
Even if you don’t consider yourself “crafty,” you’ll be surprised what you can pull off with a few supplies, a vision, and maybe a couple of friends to help along the way. And at the end of the day, when people ask where you found that amazing table runner or who designed the ceremony arch, you’ll get to say, “We made it.”
This website uses cookies to improve the user experience and optimize its performance. By continuing to use this website, you agree to the use of cookies on this website.
Read more